To set up effective lighting for your desk, use the 3-point system: position your key light at 45° and slightly above your face for a natural, flattering glow. Add a fill light on the opposite side with softer brightness to reduce shadows, and place a backlight behind you to create separation from the background. Keep lighting balanced and neutral in color for a professional look. If you want practical tips and tricks, you’ll find plenty of useful details to improve your setup.

Get the latest gadgets delivered free — and shop member deals
- Fast, free delivery on millions of items
- Access to Prime Big Deal Days deals on October 6–7
- Prime Video, Amazon Music and more included
Key Takeaways
- Use a key light at 45° and slightly above eye level to define facial features clearly.
- Position a fill light opposite the key light to soften shadows without flattening the face.
- Place a backlight behind the subject to add depth and separate them from the background.
- Ensure all lights have a neutral, daylight color temperature (~5500K) for natural appearance.
- Balance and experiment with light angles and intensity for a polished, professional video call look.
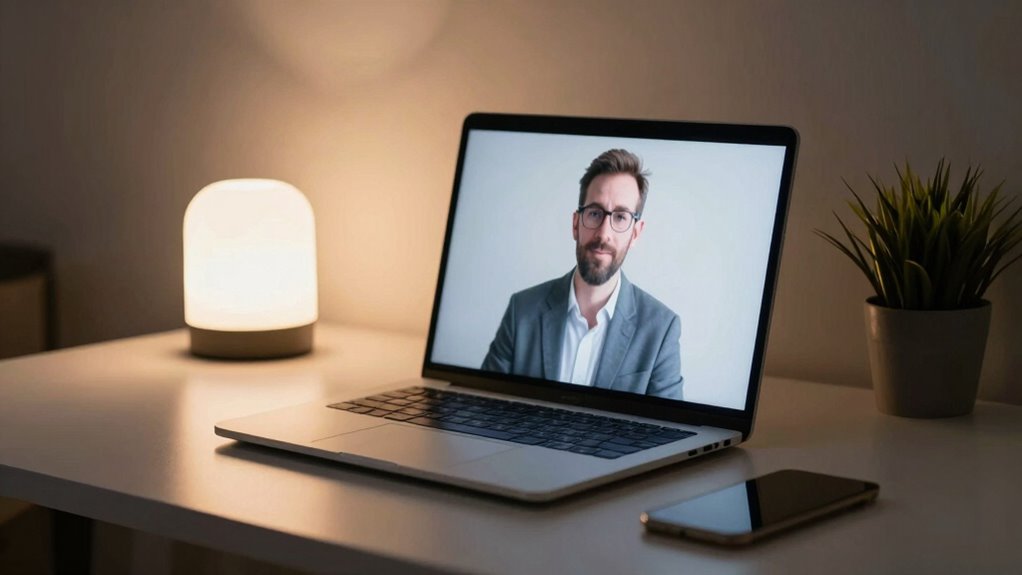
Ever wondered why some video calls look professional while others appear dull or unflattering? The secret often lies in the lighting setup. When you’re on a call, the way your space is lit deeply influences how you look on screen. To achieve a polished and inviting appearance, mastering the 3-point lighting setup at your desk is essential. This setup involves three key elements: a key light, a fill light, and a backlight, all working together to create balanced illumination.
Starting with the key light, it’s your main source of illumination, usually positioned at a 45-degree angle from your face and slightly above eye level. This light defines your features and provides the primary brightness. When selecting a key light, pay attention to color temperature. A light with a color temperature around 5500K mimics natural daylight, giving a neutral, flattering tone. Avoid overly warm or cool lights, as they can cast unflattering hues that distort your skin tone or create a harsh appearance. Proper background illumination is equally important, but it should complement your key light. Avoid overly bright or uneven background lighting, which can cause distracting shadows or glare. Instead, aim for soft, even background lighting to add depth without stealing attention from you. Consistent lighting helps create a cohesive and professional look on camera. Additionally, the placement of your lights should minimize the risk of glare on your screen or glasses.
The fill light balances the shadows created by the key light, ensuring your face isn’t overly contrasted or shadowed. You can use a softer, less intense light positioned opposite the key light. Adjust its brightness so shadows are minimized but not flattened, preserving some natural depth. When you set up your fill light, consider the background illumination to prevent it from overpowering your face or creating unwanted glare. Maintaining a consistent color temperature between your key and fill lights helps keep your appearance natural and cohesive. If your background has warm tones, choose a fill light with a similar warmth, and vice versa. Additionally, understanding the importance of lighting consistency can greatly enhance your on-screen presence.
Finally, the backlight, or hair light, is placed behind you, aimed at the back of your head and shoulders. It helps separate you from the background, adding dimension and preventing a flat or floating look. A subtle backlight with adjustable intensity works best. When considering background illumination, ensure it’s not too bright or uneven, as it can distract viewers. Aim for a gentle glow behind you that enhances your profile without overpowering your face or creating harsh shadows. Properly balancing these three elements will give your video calls a professional and polished appearance. Also, experimenting with different lighting angles can further improve the overall visual quality of your setup.
As an affiliate, we earn on qualifying purchases.
Frequently Asked Questions
How Do I Choose the Right Color Temperature for My Lights?
You should choose a color temperature that matches your environment and the look you want. For a natural, balanced appearance, opt for around 5000K to 6500K, which mimics daylight. If you prefer a warmer tone, around 3000K, go for a softer, cozy feel. Light matching is key, so test different temperatures to see which creates the best, most professional look on your video calls.
What Are the Best Budget-Friendly Lighting Options for Video Calls?
Sure, because expensive gear isn’t necessary, you can snag budget-friendly options like ring lights and LED panels. Ring lights are compact, versatile, and deliver flattering, even lighting, perfect for video calls. LED panels are affordable, adjustable, and provide broad illumination. Both options are easy to set up, making your calls look professional without breaking the bank. Who knew good lighting could be so wallet-friendly?
How Can I Reduce Shadows on My Face During Calls?
To reduce shadows on your face during calls, focus on diffuse lighting. Use soft, evenly spread light sources like a ring light or lamps with lampshades to avoid harsh shadows. Position the light slightly above and in front of you, ensuring it illuminates your face evenly. This shadow reduction technique creates a more flattering, professional appearance while minimizing distracting shadows, making your video calls look clearer and more polished.
Is Natural Light Better Than Artificial Lighting for Video Calls?
Like a painter choosing their palette, you should prefer indoor lighting over natural light for video calls. Sunlight glare can cause harsh shadows and make your face look uneven, while indoor lighting offers control and consistency. You can adjust your lights to avoid flickering or shadows, ensuring your face stays clear and professional. So, for a steady glow, indoor lighting surpasses unpredictable natural sunlight, helping you look your best on every call.
How Often Should I Adjust or Replace My Lighting Setup?
You should adjust or replace your lighting setup as needed, typically every 6 to 12 months, to guarantee ideal lighting quality. Regular lighting maintenance helps prevent dimming or flickering, which can affect your video call appearance. Also, replacing bulbs or equipment when they show signs of wear extends their longevity and maintains consistent lighting. Keep an eye on your setup, and don’t hesitate to upgrade for better performance or durability.
Conclusion
So, there you have it—your foolproof 3-point lighting setup to look like a Hollywood star from your cluttered desk. Who knew that a few strategically placed lights could transform your blurry, shadowy video calls into a professional masterpiece? Now, go ahead, impress your boss and friends alike, all while secretly wishing you had a personal lighting crew. Because nothing says “I mean business” like perfect lighting—without leaving your pajamas.
Fall Picks
fall essentials
As an affiliate, we earn on qualifying purchases.