Getting your projector’s throw distance right doesn’t have to be complicated. Start by measuring your room’s size and deciding your screen dimensions. Use simple rules of thumb, like a throw ratio of 1.5 to 2 times your screen width. Online calculators and charts can make this even easier—just input your room measurements and projector model. Fine-tuning your setup with focus and alignment tools guarantees sharp images. Keep exploring to master hassle-free setup tips and tricks.
Key Takeaways
- Use online throw distance calculators or charts with room measurements to simplify setup without complex math.
- Follow the guideline of a throw ratio between 1.5 to 2 times the screen width for quick placement.
- Measure room dimensions and consider wall color and obstructions to determine optimal projector placement easily.
- Match your projector’s throw ratio with your screen size to ensure proper focus and image clarity.
- Adjust focus and zoom controls after positioning the projector to fine-tune image size without calculations.
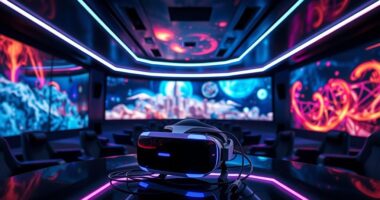
Why Throw Distance Matters When Setting Up Your Projector

Understanding why throw distance matters is essential when setting up your projector because it directly affects the size and clarity of the image. The correct throw distance guarantees your projector can produce the desired image size without distortion or pixelation. It also influences your mounting options, helping you choose between ceiling mounts, tabletop setups, or other configurations. Proper throw distance can simplify audio integration, reducing the need for lengthy cables or external speakers to achieve excellent sound quality. If you place the projector too close or too far, you risk losing image sharpness or having to reposition equipment later. Knowing the throw distance helps streamline your setup, ensuring both picture quality and audio work harmoniously for a seamless viewing experience. Additionally, understanding projection ratios can help you determine the optimal placement in your space for the best results. Being aware of lens shift capabilities can further assist in precise positioning without compromising image alignment or quality. To make the most of your setup, considering projector placement options and how they relate to your room dimensions can be highly beneficial. Recognizing the importance of AI-powered virtual reality in e-learning can also help you explore innovative ways to enhance your viewing environment.
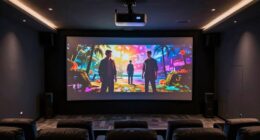
How to Measure Your Room and Screen Size for the Perfect Throw Distance

To get the right throw distance, you need to measure your room’s dimensions accurately. Consider your screen size and how much space you have between the projector and the wall. Knowing these details helps you choose the perfect setup for clear, comfortable viewing.
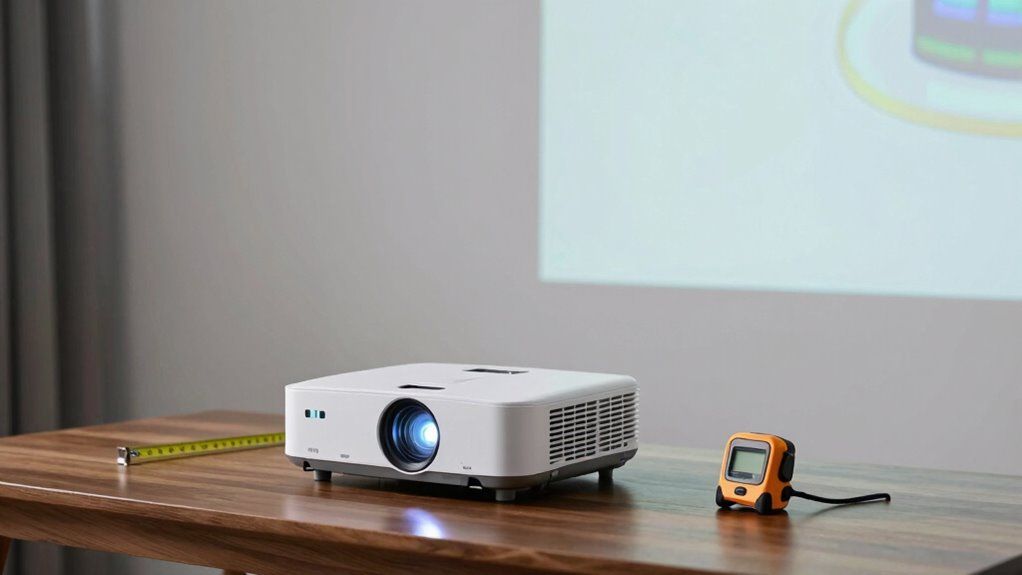
Room Dimensions Matter
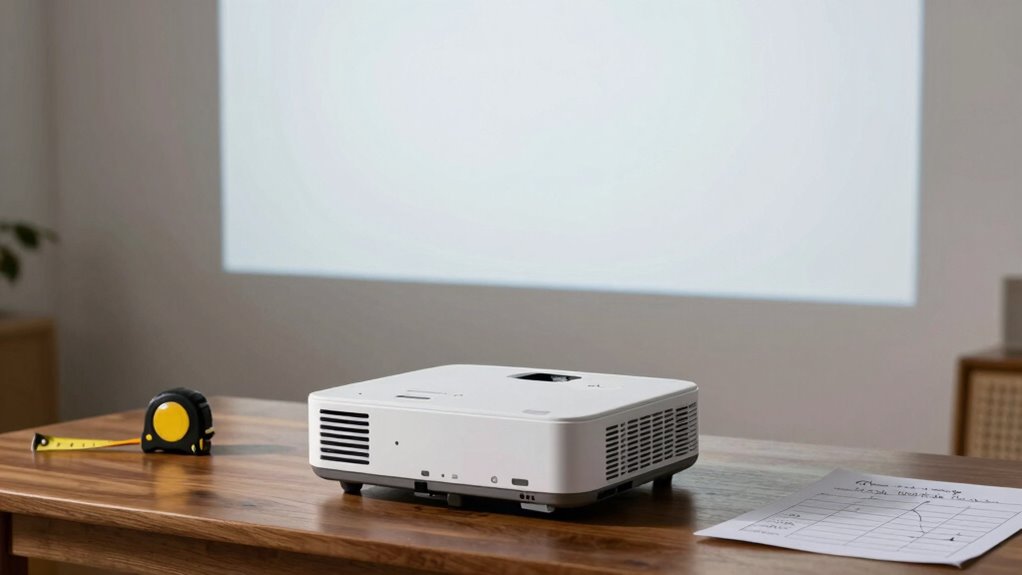
Measuring your room dimensions accurately is essential for determining the ideal projector throw distance. Start by noting the length, width, and ceiling height of your space. Ceiling height influences the projector’s placement and potential ceiling mount options. Be mindful of wall color, as darker walls absorb light, affecting image brightness and clarity. Light-colored or reflective walls can enhance brightness but may cause glare or uneven focus. Use a tape measure to get precise measurements, and don’t forget to account for any obstructions like furniture or fixtures that could interfere with projector placement. Knowing your room’s size helps select the right projector and setup, ensuring your image fits perfectly on your screen without distortion or the need for excessive adjustments. Additionally, understanding ambient light conditions in your room can help optimize image quality and brightness for the best viewing experience. Properly assessing these factors ensures a smooth setup process and a better overall viewing experience. Furthermore, considering room acoustics can improve sound quality and overall enjoyment during your viewing sessions.
Screen Size Considerations
Wondering how to determine the right screen size for your space? First, consider your room’s dimensions and the ideal viewing distance, which depends on your screen aspect ratio. For example, a 16:9 aspect ratio is common for HD content, but if you want a more cinematic feel, a 2.35:1 ratio might suit you better. Measure your room carefully to find the maximum screen width that fits comfortably without crowding your space. Keep in mind that projector lumens influence brightness, especially with larger screens; brighter projectors (higher lumens) produce clearer images on bigger screens. Balancing these factors ensures you select a screen size that delivers an immersive experience while fitting your room’s layout perfectly. Additionally, understanding your throw distance helps you match your projector to the ideal screen size without unnecessary adjustments. Remember that screen size considerations are crucial for creating an optimal viewing environment that enhances your overall home theater experience.
Easy Rules of Thumb for Finding the Right Throw Distance
Finding the right projector throw distance doesn’t have to be complicated; simple rules of thumb can make the process easier. First, consider the projection angle—aim for about 10-15 degrees to avoid distortion. Second, assess your mounting options; fixed mounts typically require a set distance, while adjustable mounts provide flexibility. Third, use these guidelines: 1. For standard projectors, a throw ratio of 1.5 to 2 times the screen width is a good starting point. 2. Match your projector’s throw ratio with your room size and mounting options. 3. Remember, a shorter throw distance reduces shadows and glare, especially with limited mounting options. 4. Incorporating luxury home theater equipment can enhance your viewing experience and help optimize throw distances for premium setups. Additionally, understanding throw ratio can simplify your planning process and ensure the best image quality.
What Online Tools Help You Calculate Throw Distance Quickly?
Online tools can simplify the process of calculating your projector’s throw distance, saving you time and reducing guesswork. These tools often incorporate calculation methods that consider your projector model, screen size, and placement. Many utilize interactive distance charts, allowing you to input specific measurements and instantly see the recommended throw distance. Some popular online calculators are designed to be user-friendly, guiding you step-by-step without requiring complex math. These tools help you quickly determine if your desired location is suitable or if adjustments are needed. Utilizing projection ratios can further enhance your ability to select the right setup for your space. Additionally, understanding throw distance calculations can improve your setup accuracy. Modern online calculators often include features that adjust for different environments, making setup more adaptable. By using online throw distance calculators, you avoid manual calculations and guesswork, making setup faster and more accurate. Incorporating automatic adjustment features can further streamline the process, especially for complex room setups.
How to Adjust Your Projector for a Clear, Well-Sized Image
To get a clear, well-sized image, start by checking your projector’s placement to make certain it’s properly aligned with your screen. Then, adjust the zoom to control the image size and fine-tune the focus for sharpness. These simple steps make a big difference in achieving the perfect projection.
Check Projector Placement
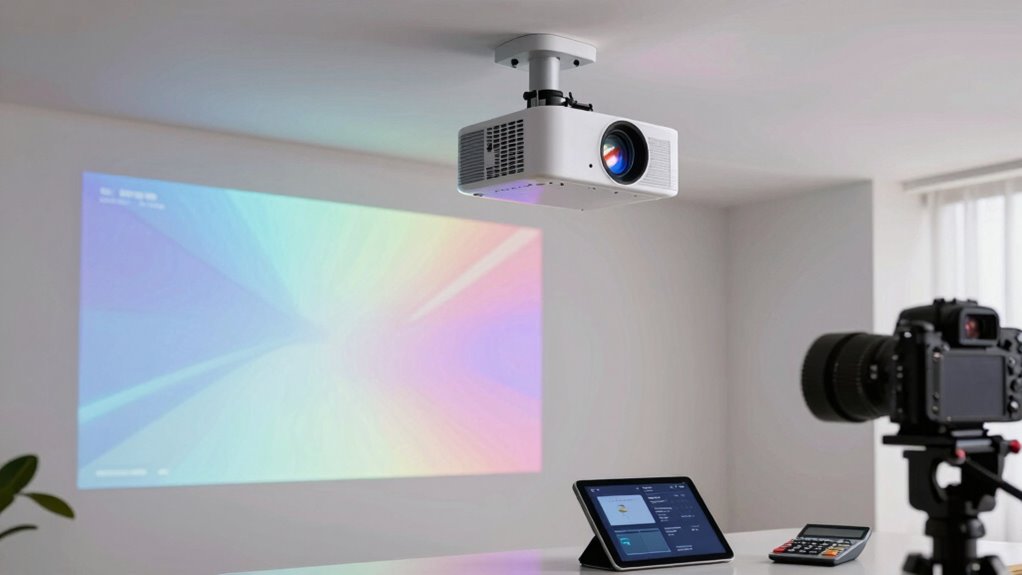
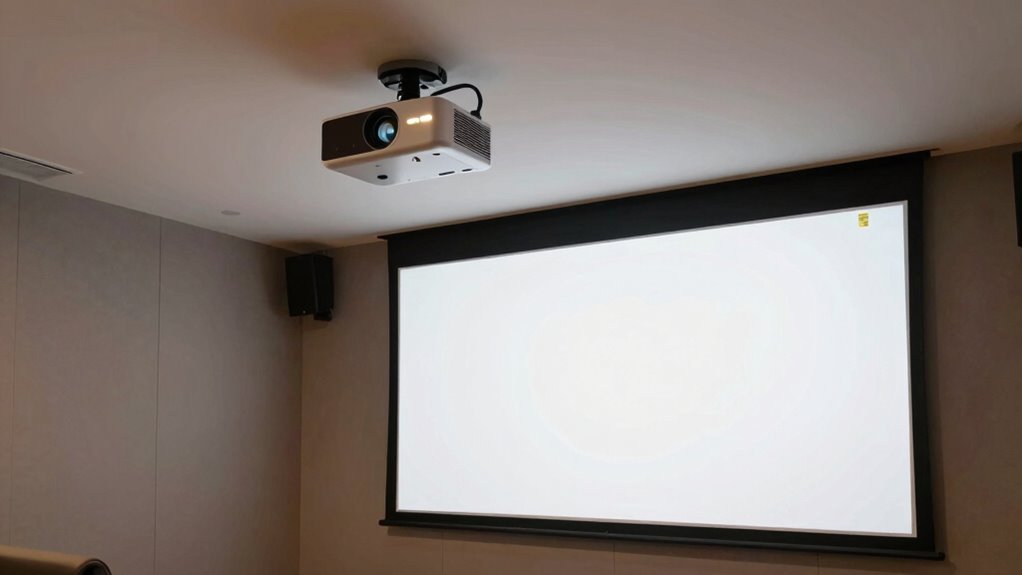
Ensuring your projector is properly placed is essential for achieving a clear, well-sized image. First, evaluate your mounting options to secure the projector firmly, whether on a table or ceiling. Ceiling placement often offers the most stable setup, but you need to guarantee it’s aligned correctly. Second, position the projector so it’s centered with the screen to avoid keystone distortion. Adjust the height and angle to keep the image square. You can also consider projector calibration tools to fine-tune the image alignment. Test the placement by projecting a test image and confirming the size and focus. Make small tweaks to the projector’s position until the image is sharp and fills the screen without distortion. Proper placement saves you from headaches later and guarantees an ideal viewing experience. Proper placement can also help prevent damage to your gear and ensure consistent performance over time.
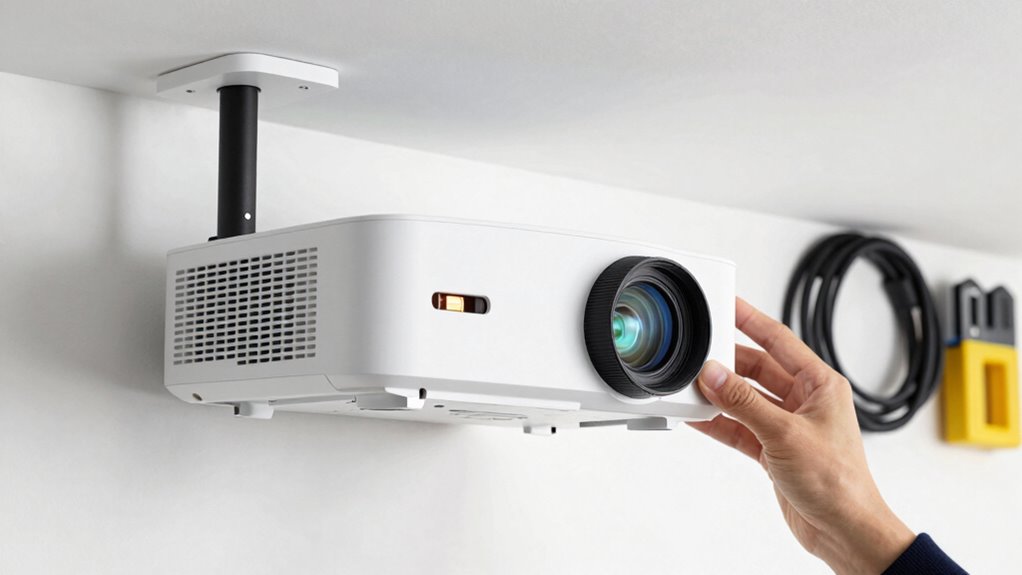
Adjust Zoom and Focus
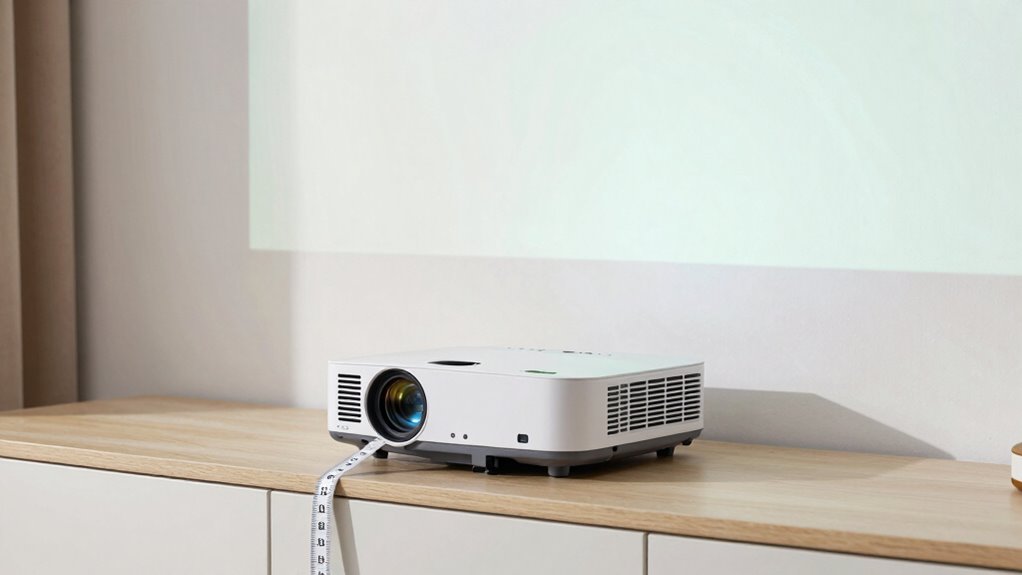
Adjusting the zoom and focus on your projector is essential for achieving a sharp, properly sized image. Start by turning on the projector and locating the lens adjustment controls. Use the zoom ring to fine-tune the image size until it fits your screen perfectly. Once the size is correct, focus the lens to sharpen the image. Carefully rotate the focus ring until the picture appears crisp and clear, with no blurriness or fuzziness. Proper lens adjustment ensures ideal image sharpening, making details pop and reducing eye strain. Take your time during these adjustments to get the best picture quality. Remember, small tweaks can make a big difference, so double-check your image after each change to maintain clarity and proper sizing. Additionally, understanding how light and humidity affect your projector can help prolong its lifespan and optimize image quality.
Common Mistakes to Avoid During Projector Setup
One of the most common mistakes during projector setup is misjudging the throw distance, which can lead to a distorted or blurry image. To prevent this, keep these tips in mind:
- Incorrectly positioning the projector: Always measure the distance carefully, especially if you’re using a ceiling mount, to ensure the image fits your screen perfectly. Proper body jewelry measurements are essential for accurate fitting and optimal performance.
- Neglecting audio calibration: Poor audio setup can distract from a good picture. Calibrate speakers and sound levels early to match your viewing environment.
- Ignoring proper alignment: Even if your projector is correctly placed, misalignment can cause keystone distortion. Use a level or alignment tools to keep the projector straight and centered.
- Overlooking throw distance specifications: Understanding your projector’s throw distance helps you position it accurately for optimal picture quality. Additionally, being aware of projector placement guidelines can help you avoid common positioning errors that impact image quality. Being familiar with projection setup best practices ensures a smoother setup process and better overall performance.
How to Fix Image Alignment and Troubleshoot Setup Issues
When your projected image appears distorted or misaligned, troubleshooting becomes essential to restore peak picture quality. Start by adjusting the keystone correction feature to fix trapezoidal distortions caused by the projector’s angle. Use your projector’s menu to access keystone settings and make small adjustments until the image appears rectangular. If alignment issues persist, perform image calibration by aligning the projector with the screen, ensuring it’s level and centered. Check the lens for dirt or smudges that could affect clarity. Also, verify the projector’s placement and mounting to prevent skewed images. Remember, proper calibration and correction can fix most setup issues, saving you time and effort. Regular maintenance routines can help prevent common problems and keep your projector functioning optimally. Understanding image projection principles can aid in diagnosing complex setup challenges. Familiarity with proper setup techniques can further streamline the process and improve image quality. Consistently reviewing these steps will help you maintain sharp, well-aligned images.
Final Tips for Hassle-Free Projector Placement and Great Viewing
Achieving hassle-free projector placement starts with choosing the right location that offers a clear line of sight and minimizes obstructions. To guarantee a seamless setup and great viewing experience, consider these final tips:
Select a clear, unobstructed spot and optimize setup for seamless projector performance and viewing enjoyment.
- Use cable management solutions to keep cords organized and prevent tripping hazards.
- Adjust ambient lighting to reduce glare and improve image clarity without making the room too dark.
- Position the projector at the ideal throw distance, keeping in mind screen size and image focus.
Frequently Asked Questions
Can I Use a Projector Outdoors Without Special Adjustments?
Yes, you can use a projector outdoors without special adjustments, but you’ll need to take into account your screen size and projector height. Make sure the projector is positioned at the right height to align with your screen, which might mean adjusting its placement or using stands. Keep in mind that ambient light can affect picture quality, so choosing a darker area or using a high-lumen projector helps achieve a clear, vibrant display.
How Does Room Lighting Affect Optimal Throw Distance?
Ambient light markedly impacts your projector’s ideal throw distance. In bright rooms with high ambient light, you’ll need a shorter throw distance to maintain a clear image, as contrast ratios drop in well-lit environments. Notably, studies show that for every 10% increase in ambient light, contrast ratios can decrease by up to 30%, making it essential to adjust throw distance accordingly for the best picture quality.
Are There Projectors Designed Specifically for Small Spaces?
Yes, there are compact projectors designed specifically for small spaces. These models are lightweight, easy to move, and often feature wall mount options, making them ideal for tight areas. With their small size, you can place them closer to the screen, maximizing space without sacrificing image quality. Look for compact projectors that offer flexible mounting options to guarantee a seamless fit in your small room setup.
What’s the Best Way to Hide Cables During Setup?
To hide cables during setup, focus on effective cable management and concealment strategies. Use cable concealers or raceways along walls or ceilings to keep cords out of sight. You can also hide cables behind furniture or inside cord covers for a cleaner look. Velcro straps or clips help organize and secure loose wires, preventing tripping hazards. These methods make your setup tidy, professional, and safer.
How Often Should I Recalibrate My Projector’s Throw Distance?
You should recalibrate your projector’s throw distance whenever you notice a drop in image quality or sharpness. Regular calibration, about once every six months or after moving the projector, helps maintain accuracy. This guarantees your projector’s accuracy remains ideal, providing clear images without distortion. Frequent calibration also accounts for any slight shifts or changes in the setup, keeping your viewing experience consistent and hassle-free.
Conclusion
Remember, a stitch in time saves nine—proper projector placement guarantees a perfect picture without headaches. By measuring your space, using simple rules, and leveraging online tools, you’ll enjoy a clear, well-sized image every time. Don’t rush the setup or overlook common mistakes. With patience and the right tips, you’ll create a home theater experience that’s hassle-free and enjoyable. After all, a little prep now keeps the frustration away later.