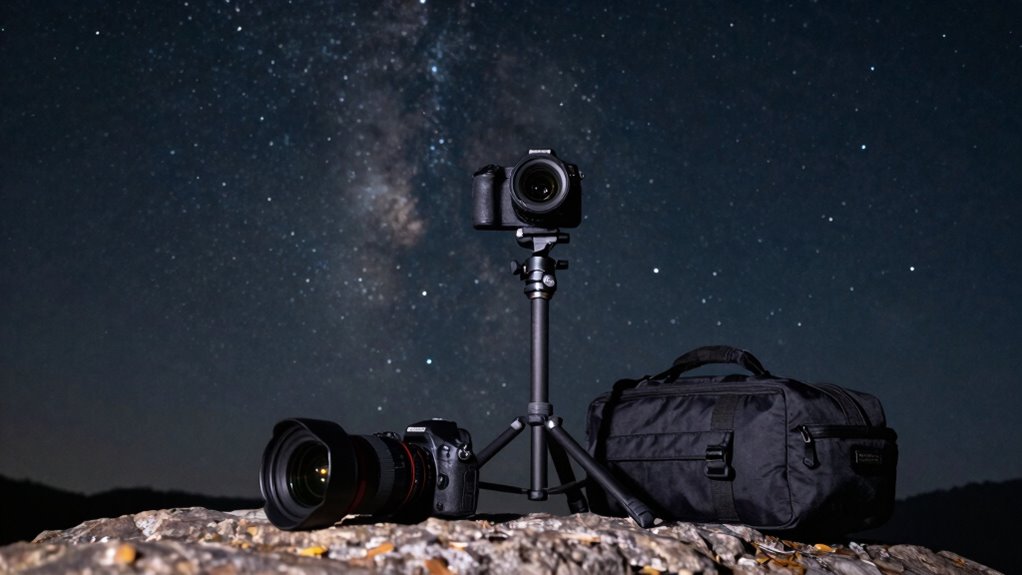
To get started in astrophotography, you only need three essential gear pieces: a sturdy tripod, a camera with manual controls, and a wide-angle lens. The tripod keeps your camera stable during long exposures, while the manual controls let you adjust settings like ISO and shutter speed for the best shot. A wide-angle lens helps capture expansive night sky scenes. Keep practicing with these essentials, and you’ll discover even more tips to improve your shots along the way.

Get the latest gadgets delivered free with Prime
- Fast, free delivery on millions of items
- Prime Video, Amazon Music and more included
- Member-only deals all year
Key Takeaways
- A sturdy tripod is essential to keep the camera stable during long exposures.
- A wide-angle lens with a large aperture (f/2.8 or lower) maximizes light intake.
- A remote shutter release or intervalometer prevents camera shake during long exposures.
- Manual camera controls (aperture, ISO, shutter speed) are crucial for optimal settings.
- Knowledge of celestial navigation aids in framing and locating celestial objects accurately.
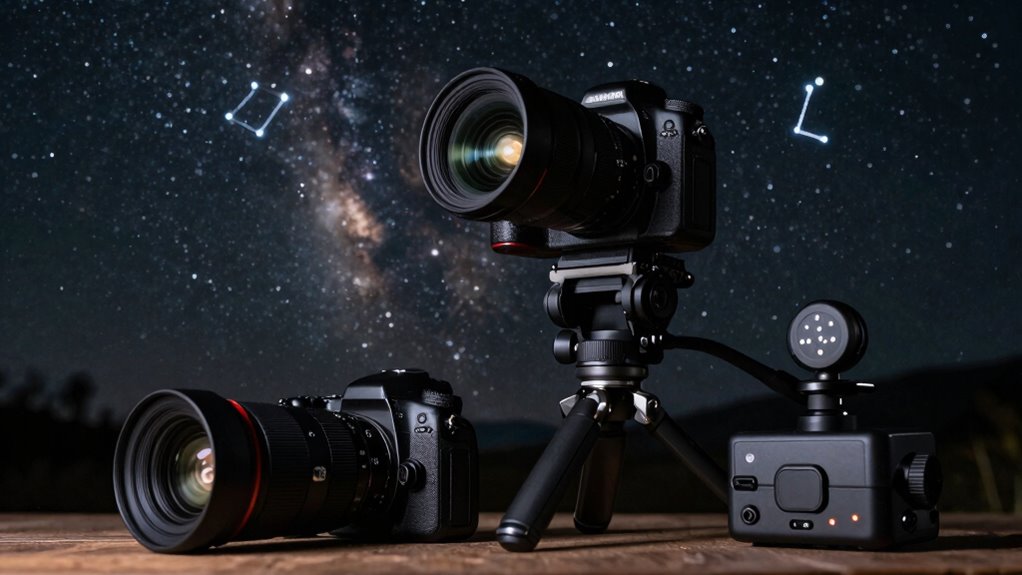
Astrophotography lets you capture the beauty of the night sky, but getting started can seem intimidating. One of the first hurdles is understanding how to point your camera in the right direction, which is where celestial navigation comes into play. To keep your images sharp and centered on celestial objects, you need to learn how to identify constellations and use star maps or apps for guidance. This knowledge helps you frame your shots accurately, especially when you’re working in the dark. Once you know where to aim, the next step involves adjusting your camera settings to optimize your shot. Long exposures are essential in astrophotography, so you’ll want to set your camera to manual mode to control exposure time, ISO, and aperture. Typically, you’ll start with an exposure of around 15 to 30 seconds, a wide aperture (like f/2.8 or lower), and an ISO that balances light sensitivity with noise management—often between 800 and 1600. Experimenting with these settings is *vital*, as different conditions and equipment may require tweaks for the best results. Understanding how to celestial navigation enhances your ability to frame shots accurately and consistently in the dark. Having the right gear is just as important as knowing where to point and how to set your camera. You’ll need a sturdy tripod to keep your camera stable during long exposures, preventing any motion blur caused by hand movement. A remote shutter release or intervalometer helps you avoid jostling the camera when you press the shutter button, ensuring crisp images. While a dedicated astrophotography camera or a DSLR with a wide-angle lens is ideal, even a smartphone with manual controls can work for basic shots once you master the basics. Remember, the key is to keep your gear simple and reliable so you can focus on learning and experimenting. Developing a good understanding of night sky patterns can significantly improve your ability to locate interesting objects and compose compelling shots. Additionally, familiarizing yourself with astrophotography techniques can help you achieve more professional results over time. The combination of knowing where to point, mastering camera settings, and having dependable gear makes all the difference in capturing stunning astrophotos. Keep practicing, and don’t get discouraged by initial failures—they’re part of the process. With patience and persistence, you’ll be able to translate the vast, starry night sky into breathtaking images that reveal its hidden beauty. Enhancing your knowledge of sky patterns can further streamline your shooting process and boost your confidence in night sky photography.
sturdy tripod for astrophotography
As an affiliate, we earn on qualifying purchases.
As an affiliate, we earn on qualifying purchases.
Frequently Asked Questions
How Do I Choose the Best Camera for Astrophotography?
To choose the best camera for astrophotography, prioritize a model with good low-light performance and manual controls. Lens selection is key, so opt for a camera compatible with wide-angle lenses that capture more sky. Tripod stability is vital, so make sure your tripod is sturdy enough to hold your camera steady during long exposures. By focusing on these factors, you’ll find a camera that helps you capture stunning night skies effortlessly.
What Are the Common Mistakes Beginners Make in Astrophotography?
Nearly 50% of beginners struggle with star trail techniques, leading to blurry or inconsistent results. You might make common mistakes like not properly stabilizing your camera or ignoring the importance of astrophotography accessories, which can cause unnecessary motion blur. To improve, focus on steady setups, learn star trail techniques, and invest in essential accessories like remote shutters and sturdy tripods. Practice patience and experimentation will help you capture stunning night skies.
How Do I Plan for Astrophotography Sessions?
To plan your astrophotography sessions, start by selecting the right lens—wide-angle lenses work well for capturing vast night skies. Check the weather forecast to guarantee clear skies and minimal cloud cover. Consider moon phases, aiming for new moon nights for darker skies. Research your location’s light pollution levels, and plan your shoot around the best conditions, making sure you have everything ready beforehand for a successful session.
What Post-Processing Software Is Recommended for Astrophotos?
You should try software like DeepSkyStacker or PixInsight, which excel at image stacking and noise reduction. Image stacking combines multiple exposures, enhancing detail and reducing noise for clearer astrophotos. These tools also offer advanced noise reduction features to improve image quality further. They’re user-friendly and popular among astrophotographers, making it easier to process your images and achieve stunning results that truly showcase the night sky.
How Do I Prevent Camera Shake During Long Exposures?
To prevent camera shake during long exposures, make sure your tripod stability is solid; use a sturdy, vibration-free tripod. Additionally, employ a remote shutter or intervalometer to trigger the camera without touching it, avoiding any additional movement. You can also activate the camera’s mirror lock-up feature if available. These steps help keep your camera steady, resulting in sharper astrophotos with minimal shake.
Conclusion
So, there you have it—your essential gear triad, the absolute must-haves for astrophotography. Who knew that capturing stunning starry skies wouldn’t require a fortune or a space station? Ironically, with just a camera, a sturdy tripod, and a bit of patience, you’re all set to release your inner astronomer. So go ahead, point your gear skyward—because sometimes, the simplest tools produce the most extraordinary views. Happy stargazing!
Halloween Picks
halloween
As an affiliate, we earn on qualifying purchases.