
TL;DR
Placing your rig in a closet can drastically cut noise and reflections, but it needs proper treatment and ventilation. The best results come from combining strategic placement with soundproofing and room treatment.
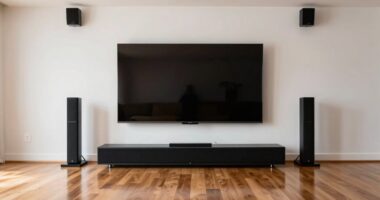
Imagine transforming a tiny closet into your secret recording haven. It sounds ideal—no neighbors, no noise complaints. But there’s a catch: closets are small, hard surfaces, and they bounce sound all over the place. You might wonder, can a closet really work for quality recordings? Absolutely, if you know the tricks. This guide uncovers how placement, acoustic treatment, and ventilation turn a cramped space into a quiet, effective studio.
You’ll learn why the biggest gains come from moving your rig away from your workspace, how to treat a closet without turning it into a sauna, and where to place panels for maximum effect. Ready to upgrade your tiny studio? Let’s get into it.
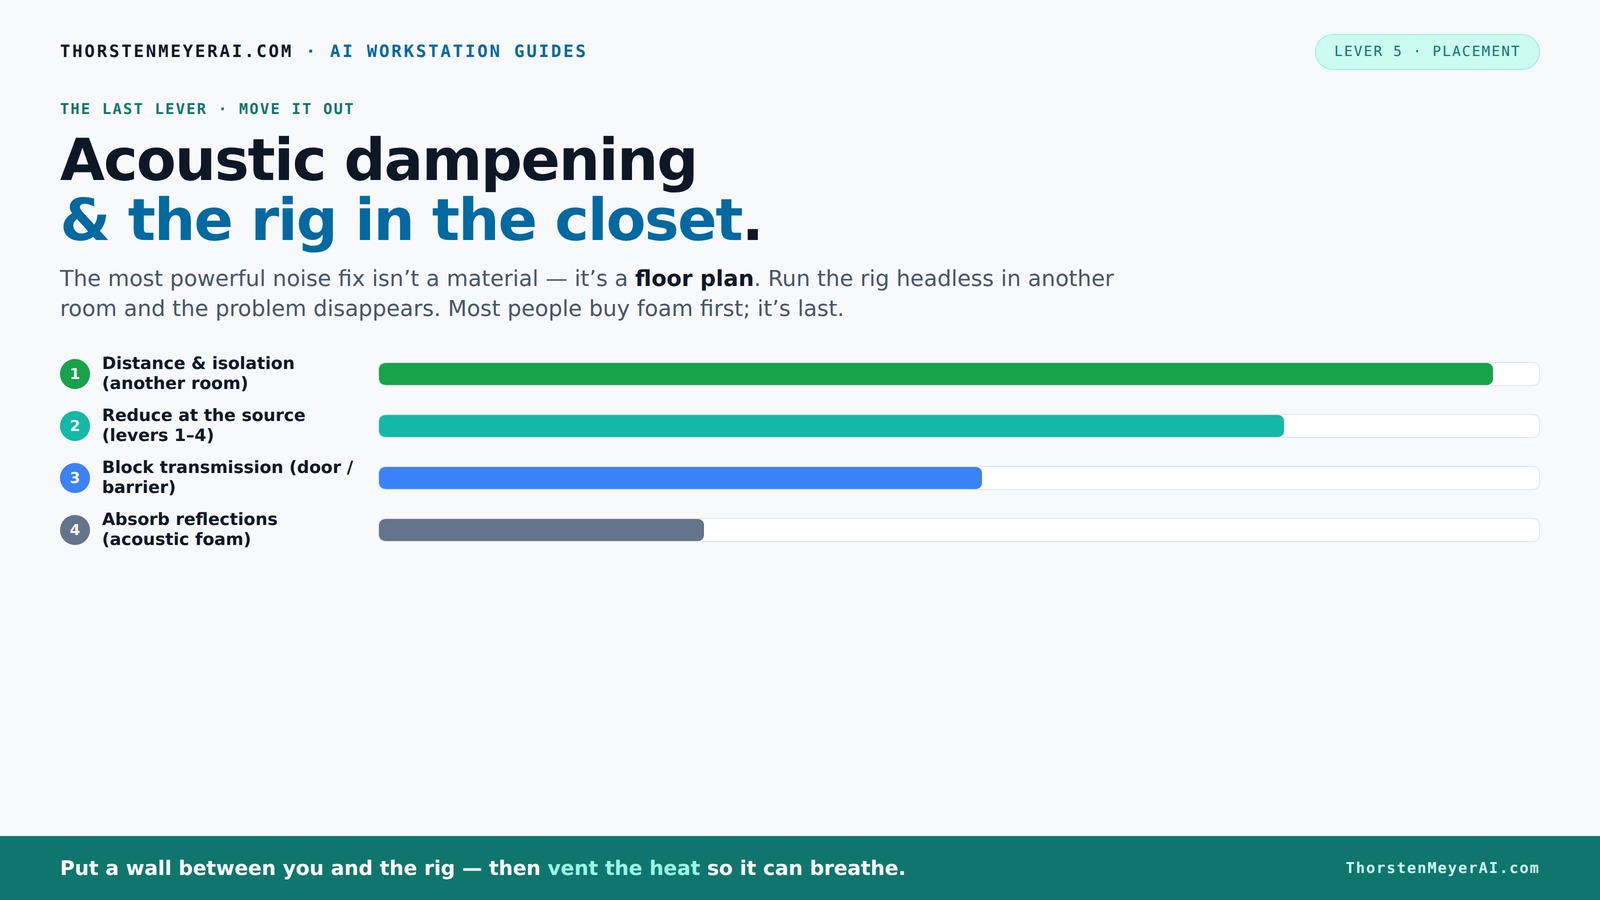
Acoustic dampening
& the rig in the closet.
The most powerful noise fix isn’t a material — it’s a floor plan. A rig you can’t hear because it’s in another room beats any amount of foam. Tap the approaches in Part 1 to see what actually works.
(another room)
(levers 1–4)
(door / barrier)
(acoustic foam)
Contain the noise, not the heat
Key Takeaways
- Moving your rig into a separate room or closet drastically reduces noise — often more than any foam panels can.
- Sealing gaps around the door and walls cuts sound leakage by over 50%, making your space much quieter.
- Coverage is king: in small spaces, covering at least 80% of walls with absorption material minimizes flutter echo and reflections.
- Control low frequencies with bass traps in corners — don’t skip this step if clarity matters.
- Ventilation is essential: a quiet exhaust fan prevents overheating and fan noise inside sealed closets.
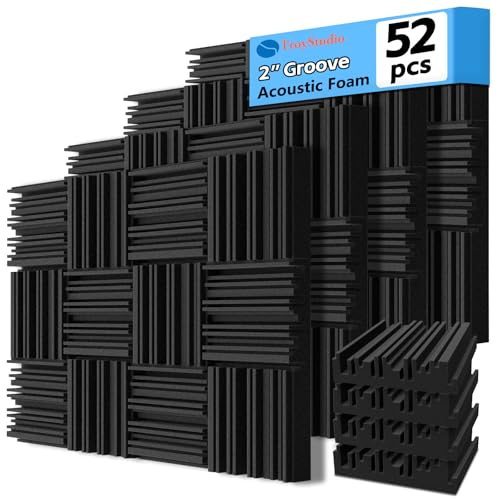
TroyStudio Thick Acoustic Foam Panels, 12 X 12 X 2 Inch 52 Pcs Broadband Sound Absorbing Foam, Dense Soundproof Padding Tile, Recording Studio Foam Absorber, Groove Decorative 3D Wall Ceiling Panel
- Size and Quantity: 12x12x2 inches, 52 panels
- Coverage Area: 52 square feet
- Material: High-density polyurethane foam
As an affiliate, we earn on qualifying purchases.
As an affiliate, we earn on qualifying purchases.
Why a closet can be a secret weapon for sound — and what to watch out for
A closet is a small, enclosed space with hard surfaces that reflect sound like crazy. But its size can actually help you tame echo and reverb if you treat it properly. When you place your rig in the closet, the sound waves bounce off the walls, creating a dense blanket of reflections that can soften your recordings. The key is understanding why reflections matter: uncontrolled reflections cause a muddiness or harshness in recordings, reducing clarity. Proper treatment converts these reflections into a controlled, warm tone—improving intelligibility and tone. However, the small size also concentrates sound energy, which can lead to excessive bass buildup and echo if not managed. This makes careful acoustic treatment essential. Ventilation is equally critical; without it, heat and noise from fans can compromise your setup, turning a promising space into a noisy, uncomfortable environment. So, the advantage lies in controlling these reflections and maintaining a comfortable temperature, turning the closet from a noisy echo chamber into a controlled acoustic environment.
How to seal your closet door and prevent sound leaks
Sealing gaps around the door is the simplest step to block sound from escaping. Think of it as giving your closet a soundproof ‘mask.’ Use weatherstripping along the door frame, and consider acoustic sealant for any cracks or gaps. This step alone can cut noise leakage by over 50%, according to soundproofing experts. But why is this important? Because even tiny gaps act like sound leaks, allowing noise to escape and compromising your recording environment. Sealing these gaps prevents sound from leaking out, which is especially vital if you're recording in a shared space or want to keep external noise from entering. The tradeoff is that a completely sealed environment can trap heat and moisture, so you need to balance soundproofing with ventilation. Proper sealing ensures your recordings are cleaner and more isolated, but over-sealing without adequate airflow can cause overheating and humidity issues, potentially damaging equipment or affecting your comfort.
Layering absorption: what to put on walls, ceiling, and corners
The key to making a closet sound better is absorbing reflections. Acoustic panels, foam, blankets, and even thick carpets can help reduce the density of early reflections that cause muddiness. For more on effective placement, see layering absorption. The placement of these treatments is crucial: first-reflection points—where sound hits your ears first—should be targeted with panels to directly reduce the most problematic reflections. Additionally, the ceiling and corners are hotspots for bass buildup and early reflections. Installing panels at these points helps control low frequencies and prevents them from becoming boomy. The tradeoff is that adding too much absorption can make the space sound dead or unnatural if overdone, so it’s important to find a balance. Strategic placement ensures you retain some liveliness in your recordings while controlling problematic reflections, leading to clearer, more professional sound quality.
Bass traps and low-frequency control in tight spaces
Bass buildup is a common issue in small rooms, resulting in a boomy or muddy sound that masks the clarity of recordings. Without addressing these low frequencies, your recordings can sound unbalanced and unprofessional. Learn more about controlling low frequencies at bass traps and low-frequency control. DIY bass traps made from rockwool or mineral wool are highly effective because they offer high absorption at low frequencies and are affordable. Placing bass traps in the upper corners of your closet booth can significantly reduce boominess—by as much as 50%—leading to a more balanced sound. The tradeoff is that bass trapping is more complex and requires proper placement to be effective; simply adding panels without considering the room’s standing wave patterns won’t optimize low-frequency control. Properly managed low frequencies result in clearer vocals and instruments, ensuring your recordings are crisp and true to life.
Vibration control: stopping the hum from traveling through furniture
Soundproofing isn’t just about absorbing sound; it’s about stopping vibrations from passing through surfaces. Equipment like your PC tower or audio interface can vibrate and transfer noise into the structure, which can then be transmitted to other parts of your space. Using anti-vibration pads or rubber feet under your gear isolates these vibrations, significantly reducing structure-borne noise. This is especially important in a small, reflective space like a closet, where even minor vibrations can be amplified and cause noticeable hums or rattles. Imagine placing your PC on a rubber mat—suddenly, the hum diminishes because vibrations are no longer traveling through the furniture or walls. This simple yet effective method prevents mechanical noise from undermining your audio quality, especially when foam and absorption are used to control airborne sound. The tradeoff is that these pads and mounts are inexpensive and easy to implement but must be used consistently to see the best results in reducing subtle mechanical hums.
Ventilation: keeping your closet cool without noise
Putting a hot, high-powered rig in a sealed closet traps heat, risking overheating and fan noise that can ruin recordings. To keep your system cool without introducing noise, consider ventilation solutions. exhaust fan or vent system. A ducted airflow with a low-noise fan can draw hot air out while bringing in cooler air, maintaining a stable temperature and preventing overheating. The importance of good ventilation cannot be overstated: excessive heat can damage equipment and cause thermal noise, while inadequate airflow can lead to noisy fans that disrupt your recordings. For example, a DIY setup used a small, quiet computer fan and a vent hole drilled into the closet door, creating a continuous airflow that kept temperatures stable and fans whisper-quiet. The tradeoff is that venting systems require careful placement and sometimes a bit of DIY work, but they are essential for maintaining a comfortable, quiet environment that safeguards your gear and your sound quality.
The 'rig in the closet' — when it works and when it doesn’t
A closet rig can be a game-changer if you focus on treatment and ventilation. It’s perfect for vocals, voiceovers, and even some instruments, especially when you need a controlled environment that minimizes external noise and echo. Proper treatment—like panels, bass traps, and sealing—can turn a small space into a surprisingly effective studio. However, it’s not a universal solution: if your goal involves recording loud instruments, such as drums or electric guitar amps, a closet is typically too small and unsealed to contain the sound effectively. In these cases, you’ll need a dedicated soundproof room or professional booth. For example, a voice actor set up a closet with thick panels, a door seal, and a dedicated exhaust fan, achieving clear, quiet recordings suitable for professional work. But a drummer trying to muffle loud drums in a closet will find it’s still too confined and unsealed for true soundproofing, illustrating that limitations exist based on the type of sound you want to capture.
Putting it all together: your step-by-step closet setup
- Seal the door and gaps with weatherstripping and acoustic sealant.
- Add absorption panels on the walls, ceiling, and corners, covering 80% or more.
- Place bass traps in corners for low-frequency control.
- Use anti-vibration pads under your gear to stop mechanical hums.
- Install a quiet vent or exhaust fan to keep things cool.
- Position your microphone at the ideal spot—usually at mouth level, away from walls.
Following these steps creates a balanced, quiet, and effective recording environment in your closet.
Frequently Asked Questions
Can a closet really be good enough for recording vocals?
Yes. With proper treatment and sealing, a closet can produce clear, echo-free recordings. It’s ideal for voiceovers and singing, especially if you focus on absorption, bass trapping, and minimizing sound leaks.
What’s the difference between soundproofing and acoustic treatment?
Soundproofing blocks sound from escaping or entering a space, usually through sealing gaps and adding mass. Acoustic treatment reduces echo and reflections inside the room, making recordings clearer but doesn’t stop sound from leaking out.
Do acoustic panels really block sound, or only reduce echo?
Most acoustic panels primarily reduce echo and reflections. To block sound transmission, you need dense barriers and sealing. Panels help improve tone and clarity but aren’t a substitute for soundproofing.
Where should I place panels in my closet booth?
At first-reflection points—like the wall directly opposite your mic and the ceiling—are most effective. Covering the entire space helps reduce dense reflections and flutter echo, especially in small rooms.
Do I need bass traps in a tiny closet?
Yes. Bass traps in corners absorb low-frequency buildup, which can muddy your recordings. DIY traps from mineral wool are a cost-effective way to keep your sound tight and clear.
Conclusion
Turning a closet into a functional recording space is about more than just adding foam. It’s a smart mix of sealing, treatment, and ventilation that transforms reflections into warmth and leaks into silence. Think of your closet as a tiny, customizable acoustic chamber—ready to serve your sound, not sabotage it.
Remember: the best setup isn’t necessarily the most expensive. It’s the one that’s thoughtfully planned, properly sealed, and well-ventilated. So, gear up, treat those surfaces, and enjoy the quiet, professional-quality recordings hiding in your smallest spaces.